How to Effectively Screen Record on Windows 10 for Improved Tutorials in 2025
Screen recording has become an essential skill, especially for creating engaging tutorials and educational content. In Windows 10, there are several tools and techniques to effectively capture your screen, enabling you to share knowledge in a visually refined way. This guide focuses on how to screen record efficiently using Windows 10 options and third-party software.
Understanding Windows 10 Screen Recording Options
When it comes to screen recording on Windows 10, knowing the options available to you is crucial. The operating system has a built-in feature known as the Xbox Game Bar, primarily designed for gaming, but it can be a powerful tool for other screen recording tasks as well. Additionally, you may choose third-party applications like OBS Studio or paid software that offers advanced functionalities.
The Xbox Game Bar: A Built-in Solution
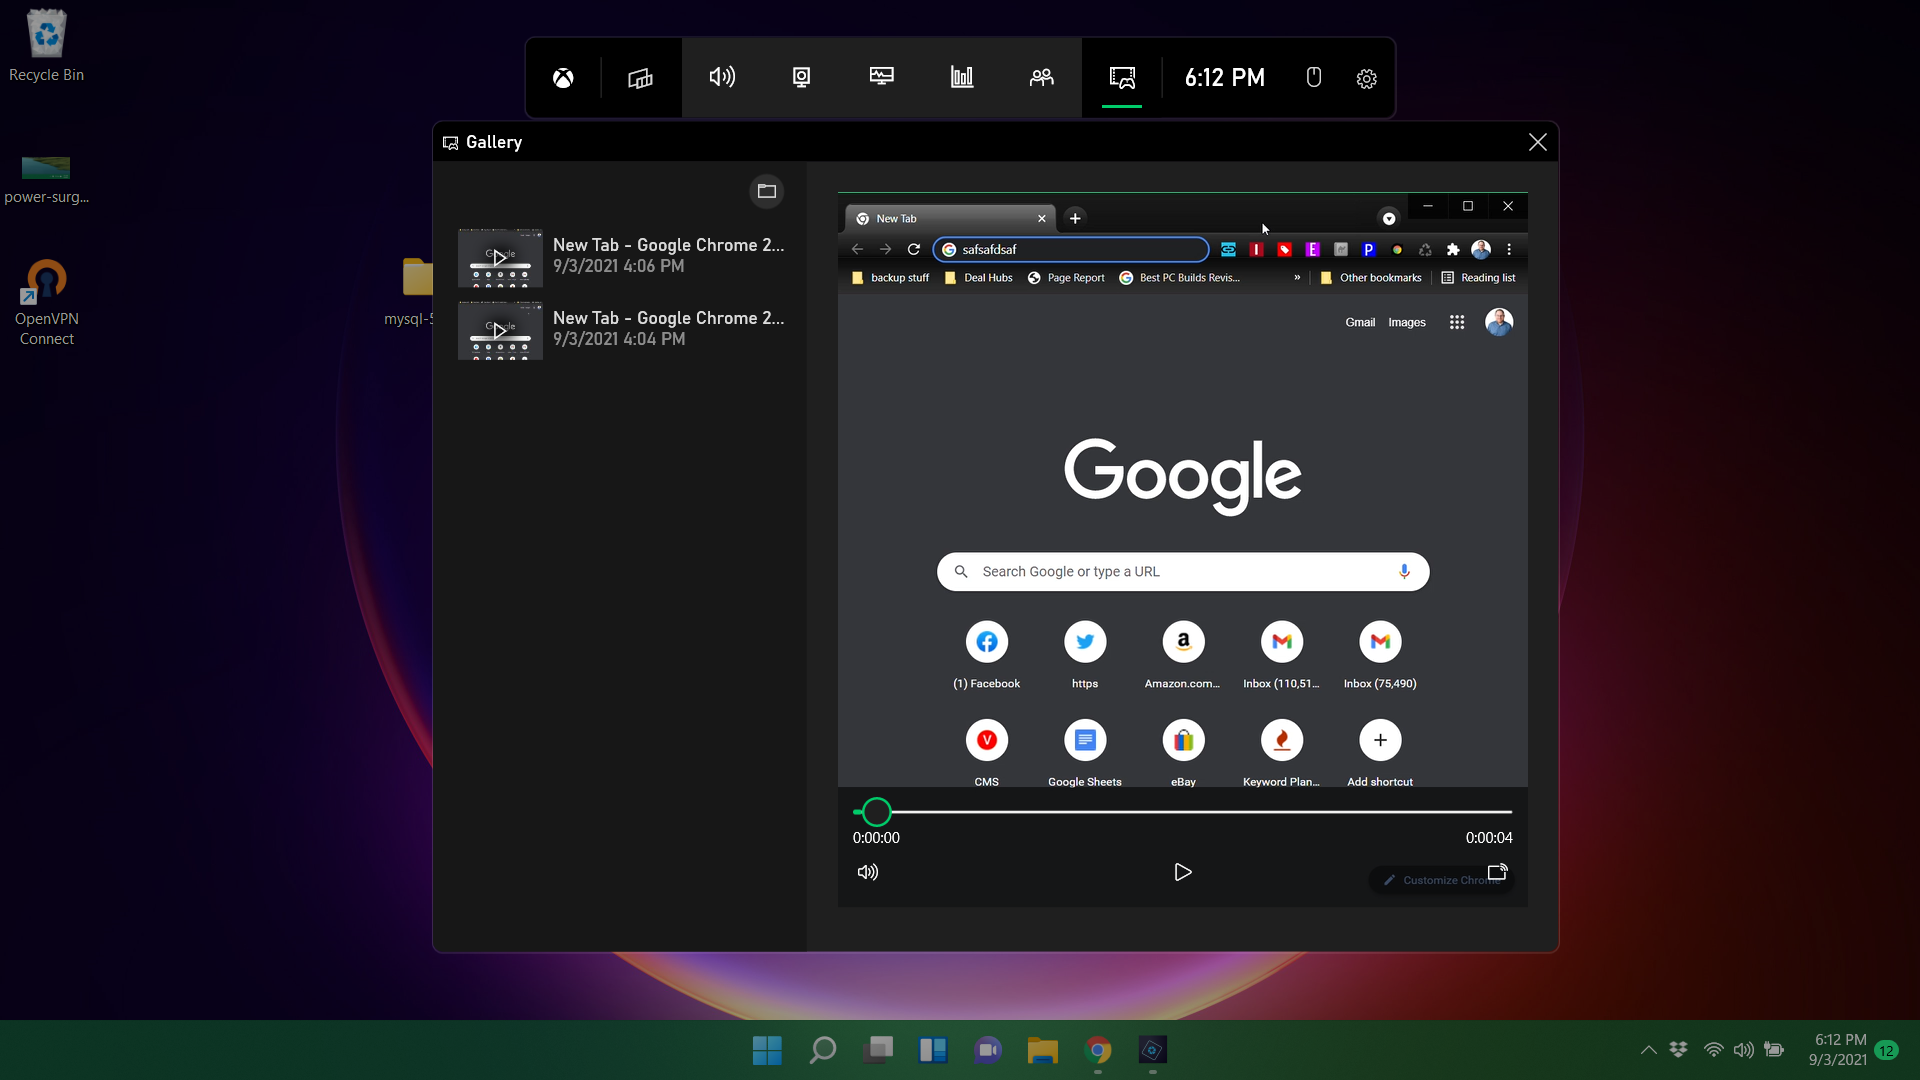
The Xbox Game Bar is a convenient built-in screen recording software that allows you to record gameplay, presentations, and other live activities. To access this tool, press Windows + G to launch the overlay. By selecting the ‘Capture’ widget, you can record your entire desktop activity or a specific application window. Ensure your recording settings are correctly configured; check the audio settings to include recording system sound, if necessary, making it easier for viewers to hear what’s happening during the recording.
Utilizing Third-Party Software for Enhanced Features
For those looking to capture more than just desktop activities, using third-party tools offers greater flexibility. Applications like OBS Studio provide robust screen recording settings and allow for complex configurations, such as using a webcam overlay or recording from multiple sources simultaneously. This flexibility can greatly enhance your tutorial video recording by allowing for clear explanations alongside visual aids.
Best Practices for Screen Recording
When it comes to creating high-quality recordings, there are several best practices to ensure your content stands out. Firstly, **plan your recording** ahead of time; outline your key points to keep the flow consistent. Additionally, consider the quality settings; recording in at least 1080p provides a clearer view. And remember to manage background noise—invest in a good microphone for superior recording audio, which feeds into the overall presentation quality. Editing footage after recording can further enhance your final output, and utilizing video editing software can help you remove unwanted segments and improve transition effects.
Configuring Screen Recording Settings for Optimal Results
Before starting your recording, spending a moment configuring your screen recording settings can dramatically improve your outcome. Adjusting the frame rate, capture resolution, and audio inputs can tailor the experience to your audience’s preferences.
Adjusting Capture Resolutions and Frame Rates
Choosing the right resolution is essential for viewer engagement. For most tutorials, 1080p (Full HD) is recommended, balancing filesize and quality. Higher resolutions may lead to larger files without considerably improving viewers’ experiences. Similarly, for frame rates, capturing at 30 fps is sufficient for standard tutorials, while gamers may prefer 60 fps for smoother visuals during fast-paced gameplay. These settings can usually be adjusted in the screen recording software you select, whether using built-in features or third-party programs.
Recording Audio: Ensuring Clear Commentary
Adding voice commentary during your recordings can enhance viewer understanding. To achieve this, check that your microphone is set up correctly in your chosen software. Test your voice levels beforehand to ensure you’re neither too quiet nor uncomfortably loud. If you’re recording gameplay or a tutorial that involves audio instructions, make sure to balance both the system audio and your commentary for a better user experience.
Editing Your Screen Recordings
After capturing your footage, it’s time to fine-tune the content by editing. Features such as trimming unwanted clips, adding transitions, and including text or graphics can elevate the professionalism of your output. Consider software like Adobe Premiere Pro or even simpler applications like Camtasia for easy editing processes. Always verify your edited recordings against your objectives; ensure they remain informative and visually engaging.
Sharing Your Screen Recordings Effectively
After creating your recording, sharing it with the world can be done through various platforms. Whether you are posting to YouTube, sharing on educational platforms, or using social media, knowing effective sharing methods is vital. Ensure your video settings and formats are compatible with your intended publishing site.
Choosing the Right Hosting Platform
When selecting a hosting platform for your videos, consider your target audience. YouTube is an excellent choice for broad outreach, while platforms like Vimeo are better for professional portfolios or client presentations. Adapting your video format (such as MP4, MOV) to fit platform recommendations can significantly affect playback quality and viewer accessibility.
Engaging Viewers: Using Thumbnails and Descriptions
To attract viewers to your recordings, effective thumbnails and descriptions cannot be overlooked. Thumbnails should encapsulate the essence of the video, while descriptions provide contextual relevance and searchable keywords. This strategy can elevate your visibility and reach, drawing in a broader audience interested in screen recording tutorials and educational videos.
Interacting with Your Audience
Encouraging interaction with your viewers is crucial. Solicit feedback, ask questions, and address comments and suggestions. This engagement creates a community around your content, encouraging viewers to return for future tutorials. You can even create additional content based specifically on viewer interest and inquiries.
Key Takeaways
- Utilize Windows 10’s built-in Xbox Game Bar for quick recordings.
- Consider third-party software like OBS Studio for enhanced features.
- Adjust recording settings for optimal audio and visual quality.
- Edit recordings to improve professional appeal.
- Share effectively on the right platforms to reach your audience.
FAQ
1. What tools can I use to screen record on Windows 10?
You can use the built-in Xbox Game Bar or third-party applications like OBS Studio and Snagit for screen recording. Both options provide different features to meet various needs.
2. How do I customize screen recording settings in OBS Studio?
In OBS Studio, navigate to ‘Settings’ and customize video resolution, frame rate, and audio options. Doing so helps optimize your recordings based on your target quality and type.
3. Can I record system sound and my microphone simultaneously?
Yes, most screen recording software supports capturing both system audio and microphone input. Check the audio setup in your software settings for proper configuration.
4. What are the best formats to share my recorded videos?
MP4 is widely accepted across platforms due to its balance of quality and compression. MOV is also popular but may not be supported on all platforms. Choose based on your sharing needs.
5. How can I enhance the quality of my recordings?
To improve quality, record at a higher resolution (1080p recommended), use a good microphone for clear audio, and ensure your lighting is adequate if you’re capturing a webcam feed.
6. Is there a way to make my video tutorials more engaging?
Incorporate visual aids, clear annotations, and structured outlines. These elements make videos more interesting by engaging viewers more effectively while following along with your tutorial.
7. What are the common issues while screen recording and how to troubleshoot them?
Common issues include poor audio quality and low video resolution. Check your microphone setup and adjust the software settings for resolution and frame rates. Conduct test recordings to troubleshoot before your final capture.