How to Fade Hair: Smart Ways to Perfect Your Look in 2025
Fading hair has quickly become one of the most sought-after styling techniques for both men and women. In 2025, mastering the art of fade haircuts can elevate your look, whether you’re considering a classic fade or a modern take. This guide will explore various hair fading techniques, barber tips, and styles to help you achieve the perfect fade. Whether you’re a beginner wanting to learn or someone looking to refine your fade styling, this article will guide you through it all.
Understanding Fade Haircuts
Fade haircuts have a myriad of styles that cater to different preferences and face shapes. Generally, a fade is characterized by the gradual shortening of hair from the top to the sides and back. There are important factors to consider when learning how to fade hair. From **fade haircut styles** to basic **hair fading techniques**, understanding the fundamentals can significantly enhance your barbering skills.
Popular Fade Haircut Styles
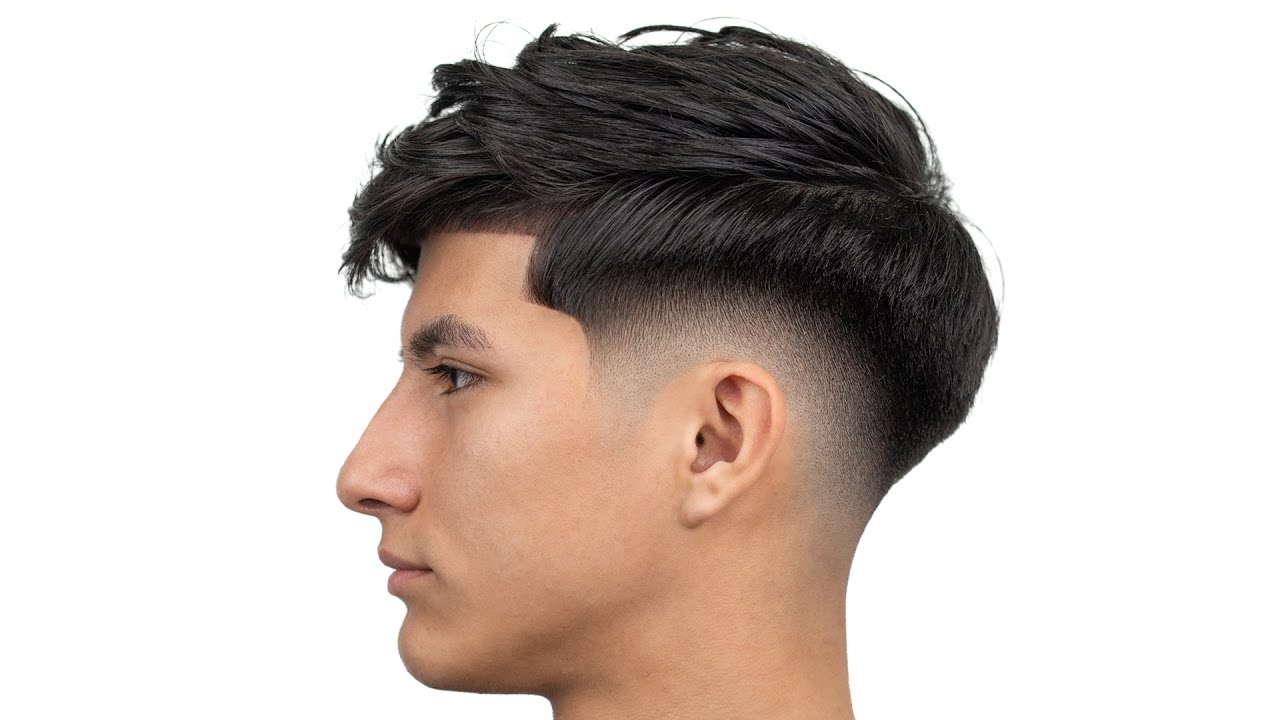
There are numerous **fade haircut styles** that range from low, medium, to high fades. Each variation gives a unique look. A low fade starts behind the ear, allowing for an elegant transition into shorter hair, making it favorable for a classic appearance. Conversely, a high fade creates a more dramatic look, ideal for stylish and trendy outfits. An example of a popular fade is the **bald fade**, where the hair is gradually shaved to the scalp, giving a clean and sharp appearance. Understanding each style ensures that you choose the fade that aligns with your personality and desired look.
Fade vs Taper: What’s the Difference?
Although often used interchangeably in conversation, there is a structure to the terms “fade” and “taper.” A **fade haircut** involves a more dramatic shortening of hair, gradually disappearing into the skin, while a **taper** simply shortens the hair, maintaining some length. This foundational understanding of fade versus taper can help you determine the right terminology when consulting with your barber, ensuring you get the best cut tailored to your preferences.
Unique Fade Ideas
Being creative with your fade opens up many possibilities. Here are a few **creative fade ideas**:
- The curly high top fade combines curly textures with a sharp fade on the sides.
- The undercut fade looks stylists can achieve by fading the sides while keeping the top visibly longer.
- Skin fade styles can incorporate designs shaved into the fade or introduced as a statement feature.
Experimenting with these **fade ideas** lets you personalize your haircut, showcasing your individuality while following current trends.
Techniques to Achieve the Perfect Fade
Mastering the fade involves utilizing specific techniques to achieve a seamless look. Knowing how to blend hair properly while executing that flawless fade will set you apart. Whether you’re doing a **taper fade tutorial** or practicing your skills at home, these key techniques will help you perfect your fade.
Blending Techniques for Hair
Blending is crucial in **achieving a fade**. When you are fading, begin with longer hair at the top and gradually reduce the length on the sides. Using various **blending techniques for hair**, such as using a comb to guide clipper movements, can help seamlessly adjust between the different lengths. Focus on having the clippers show a gradual change in the hair length, ensuring no harsh lines interrupt the transition. Additionally, utilizing different clipper guards when working through the fade is a helpful practice.
Fade Haircut Tutorial: Step-by-Step Guide
For those looking to attempt fading hair at home, follow this **fade haircut tutorial** for your reference:
- Start by selecting the right clipper guard for the top of your hair. Keep it longer while starting with a higher guard number.
- Begin from the bottom, using the clippers to gradually blend up towards the longer length, and regularly check for evenness.
- Switch guards to blend in the sections seamlessly; the goal is a smooth transition without noticeable lines.
Remember that achieving perfection will take practice! Consistent trimming will only enhance your fading skills.
Maintaining Your Fade
Once you have completed your fade haircut, maintaining the style is essential. Regular touch-ups every couple of weeks will preserve your style. Using the right **hair products for fade** can enhance the life of your haircut as well. Encourage clients to return regularly and utilize proper hair products to keep the fade looking fresh. Incorporating a **post-fade hair care routine**, including good shampoos and conditioners, will assist with keeping up appearances. Proper maintenance guarantees a longer lifecycle for any fade and maintains its stylish integrity.
DIY Hair Fading Techniques for Home
For those who prefer to save on barber visits, there are effective methods to fade hair at home. With the right tools and knowledge of **DIY hair fade instructions**, anyone can attempt this with confidence.
Tools for Fading at Home
Using the appropriate **hairstyling tools** while fading hair is essential for achieving your desired look. Invest in quality clippers with adjustable guards. This will allow you more control over the fading process as you adjust the length to your satisfaction. Additionally, a vivid mirror and a comb are basic necessities to ensure accuracy and direct visibility throughout the haircut process.
Basic Haircut Techniques for Home Fade
Highlighting good **basic haircut techniques** will pave the way for elegant and well-modulated fades. Firstly, section the hair effectively before you begin cutting. Work your way up gradually using the clipper as desired, starting from lower sections, preceding to the top as the hair length increases. Practice makes perfect; thus, beginners should consider practice on less-visible hair before conducting significant cuts. Follow-up with any thin combs for necessary touch-ups to ensure the fade levels remain smooth and comfortable.
Pitfalls to Avoid When Fading Hair
Common mistakes, such as creating unwanted lines or not blending correctly, can be avoided with practice and focus. Educate yourself on **fade haircut mistakes** and observe professional barbers to learn their techniques firsthand. Understanding how to quickly rectify and compensate for any cutting errors will enhance confidence during fades.
Key Takeaways
- Understanding different fade haircut styles is crucial for selecting your desired look.
- Utilizing the right techniques, including blending and step-by-step cutting methods, will enhance your fades.
- Investing in quality tools will improve your fading experience, especially if you’re practicing at home.
- Regular maintenance will preserve your custom fading, keeping your haircut looking fresh.
FAQ
1. What is the difference between a fade and a taper?
A fade features a more dramatic and blended look, as the hair gradually transitions to the scalp, while a taper decreases the length from the top but still maintains some hair length. The choice depends on your preferred style and how bold you’d like to appear.
2. Can fading be done on all hair types?
Yes! **Fading techniques for all hair types** exist. Different textures may require varying approaches, so it’s essential to adapt the fading method to account for curly, straight, or wavy hair.
3. How often should I maintain my fade haircut?
It’s generally recommended to get your fade touched up every 2 to 4 weeks, depending on how quickly your hair grows. Consistent maintenance will help preserve tidy and fresh-looking hair.
4. Are there special products I need for a well-maintained fade?
Utilizing quality **hair products for fading** such as pomades or waxes will offer hold and texture, also keeping your fade looking neat for longer periods. It’s also crucial to use shampoos that won’t strip the hair of moisture.
5. Are there common mistakes in fading hair to look out for?
Yes, one of the key **fade haircut mistakes** includes creating hard lines between lengths instead of a smooth gradient. Additionally, heavily relying on one clipper guard can create unevenness. Remember to switch guards gradually for more natural fading.